I find it very interesting to see how different print studios work. There is always a different set up and I like making a mental note of all the clever ideas and useful pieces of equipment in order to one day have the ultimate print studio of my own.
Recently I have finally been using the print studios in my university. I say finally because it has take me the best part of three years to finally build up the courage to use them. As expected, I am enjoying it immensely and I do regret not using them sooner. However, I am using them now and having a lot of fun.
I am working on making screen prints to make a book out of based on my trip to India a couple of years ago. It is bringing back some great memories and I am enjoying getting back into screen printing in a proper studio instead of my cramped kitchen table.
This is the step by step process of making screen prints in the university studio using a suction / vacum bed (now on my birthday and christmas wish list).
STEP ONE: Tie all your luscious locks up into a bun on the very top of your head, like a refined troll doll.
STEP TWO: Mix all colours
STEP THREE: Print your image onto a piece of plastic sheeting which is taped on to the table so that you know where your image placement is going to be.
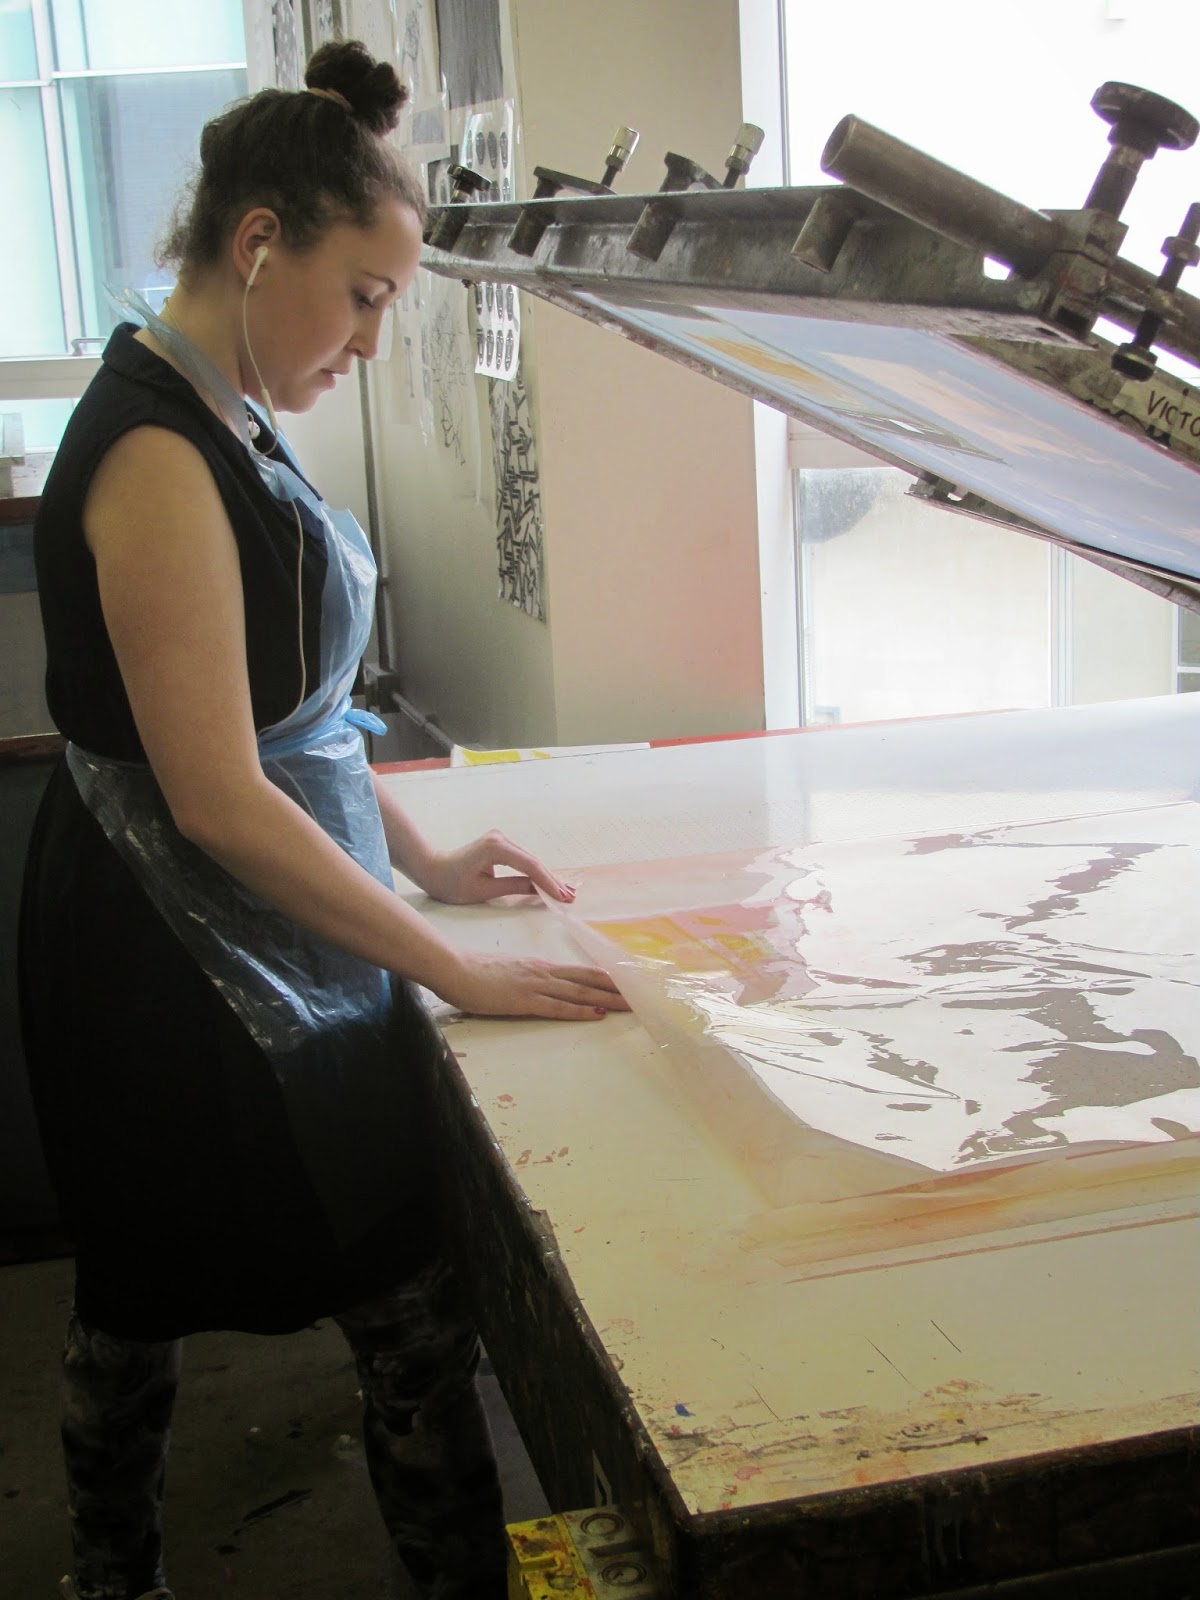

STEP 5: Peel back the plastic sheeting whilst leaving the paper held down in place with the suction table.

STEP 6: Pull your colour across your screen.


STEP 7: Push your paint back across your screen to stop the screen from blocking.

STEP 8: Lift screen to reveal your majestic print.


STEP 9: Do a little happy dance, put your print on the drying rack and continue printing into the late evening.

A big thank you to Alice Kiteley for playing paparazzi. She is also a screen printer extraordinaire.
Much much much work to be getting on with, only four full weeks left of my degree!!
Love and Peas,
Victoria
X